
Чехол для корпуса Splatter House US/JAP 16 бит с коробкой и руководством игровой карты Mega Drive
1061

Сохраните в закладки:


*История изменения цены! Указанная стоимость возможно, уже изменилось. Проверить текущую цену - >
| Месяц | Минимальная цена | Макс. стоимость | Цена |
|---|---|---|---|
| Mar-22-2026 | 1597.24 руб. | 1677.67 руб. | 1637 руб. |
| Feb-22-2026 | 1584.28 руб. | 1663.94 руб. | 1623.5 руб. |
| Jan-22-2026 | 1329.96 руб. | 1395.95 руб. | 1362 руб. |
| Dec-22-2025 | 1557.73 руб. | 1635.64 руб. | 1596 руб. |
| Nov-22-2025 | 1355.54 руб. | 1423.20 руб. | 1389 руб. |
| Oct-22-2025 | 1530.78 руб. | 1607.41 руб. | 1568.5 руб. |
| Sep-22-2025 | 1516.12 руб. | 1592.29 руб. | 1554 руб. |
| Aug-22-2025 | 1503.3 руб. | 1578.41 руб. | 1540.5 руб. |
| Jul-22-2025 | 1490.63 руб. | 1565.71 руб. | 1527.5 руб. |
Новые товары
Характеристики
Описание товара
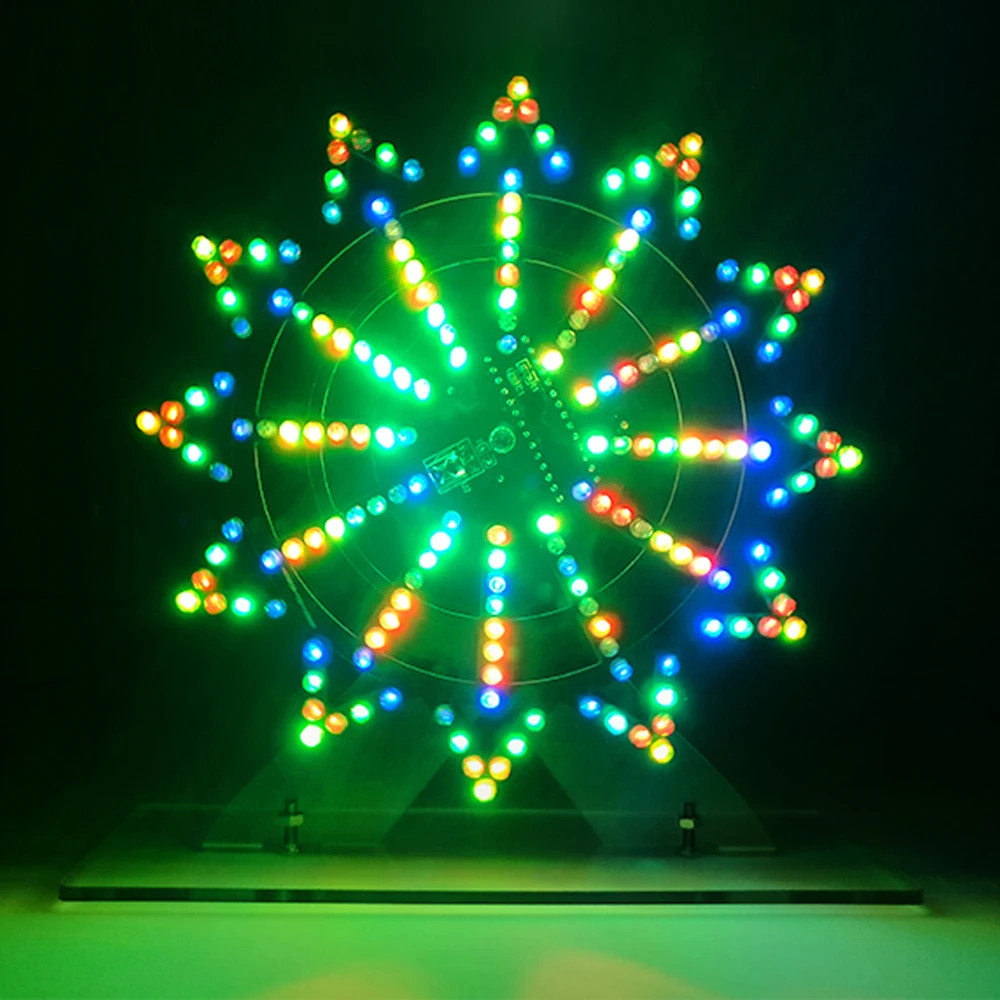
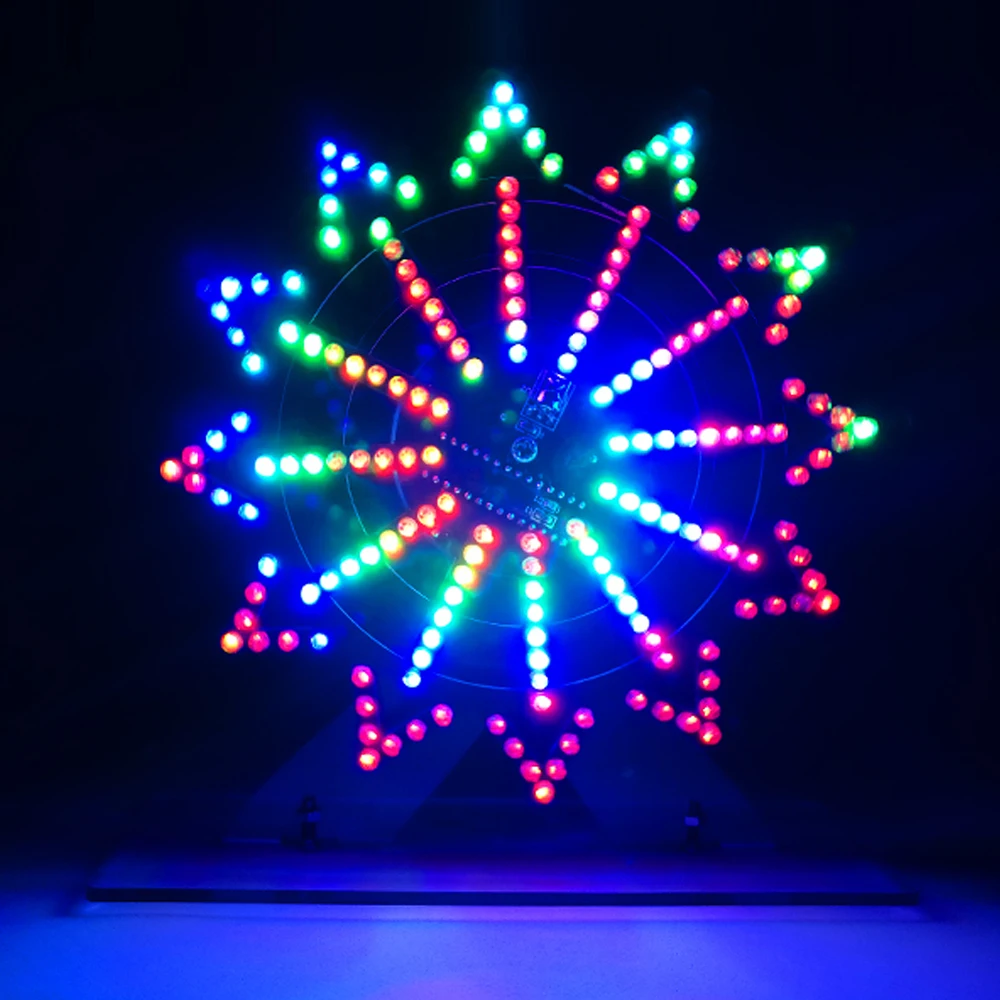
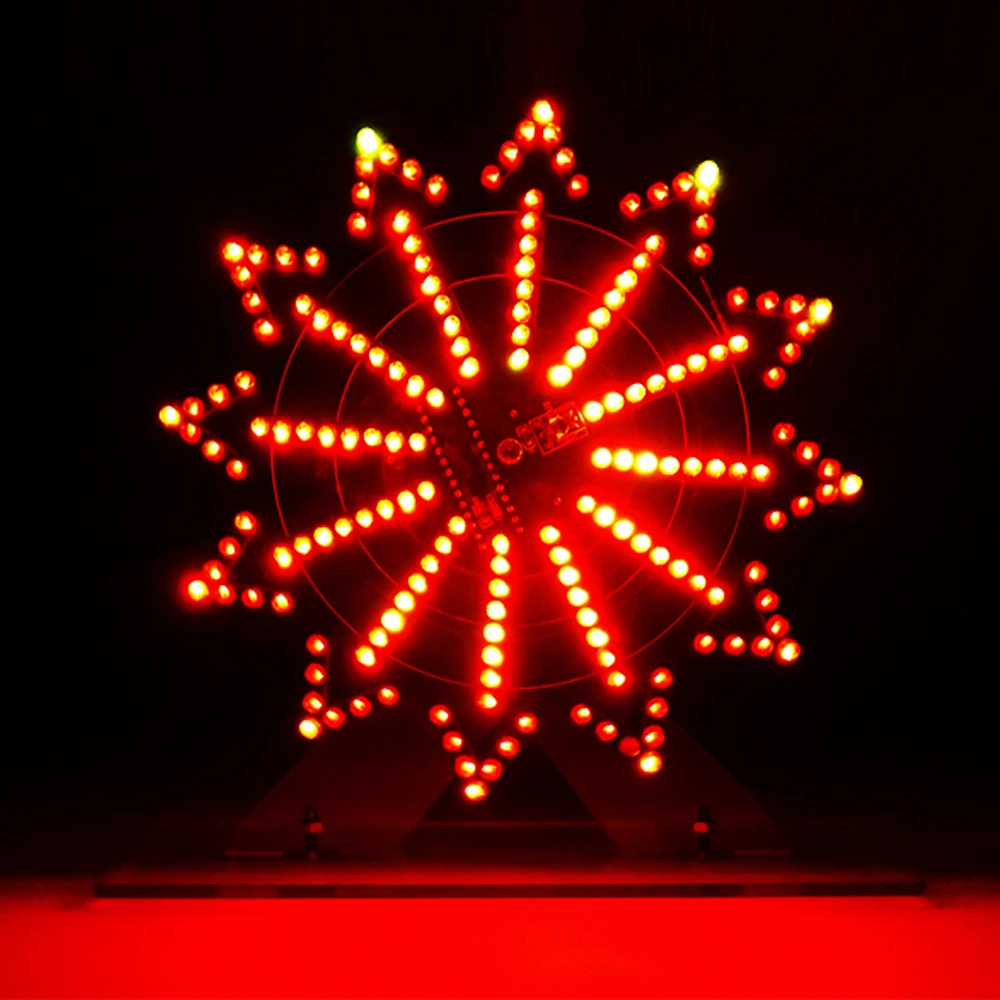
Feature
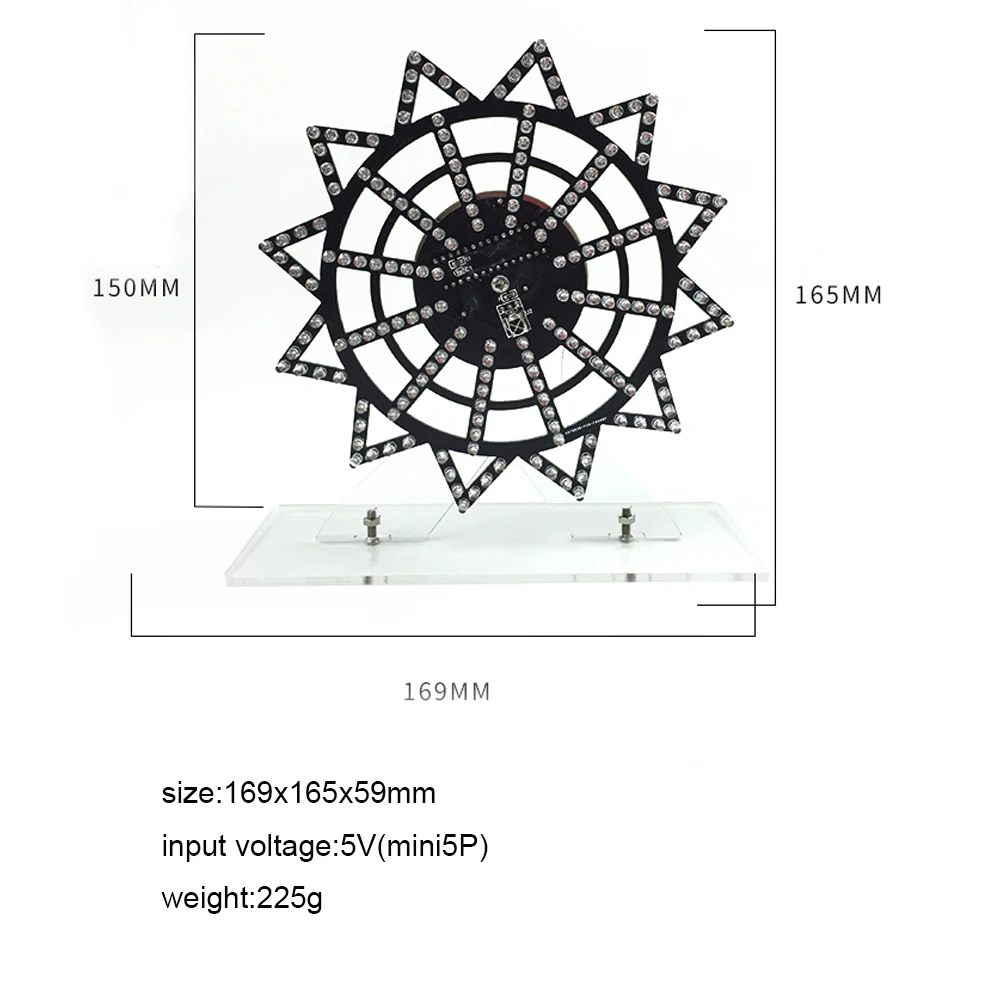
1.input voltage:5V
2.remote control function:
flash speed: press TEST-( 3+)( 6 -)
Flash mode: press 1/4/7
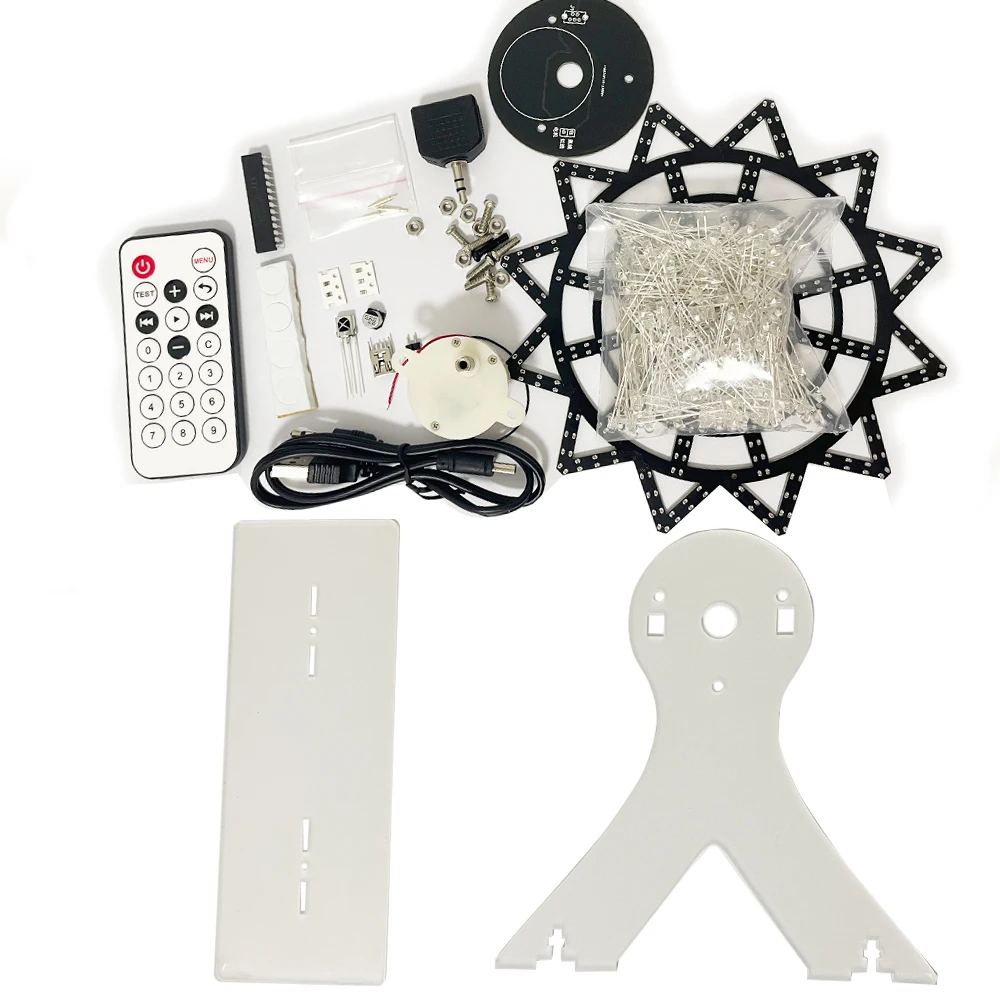
1. this is DIY electronic soldering kit for hobby beginners to learn and practice welding , not finished product !!! Please understand it!
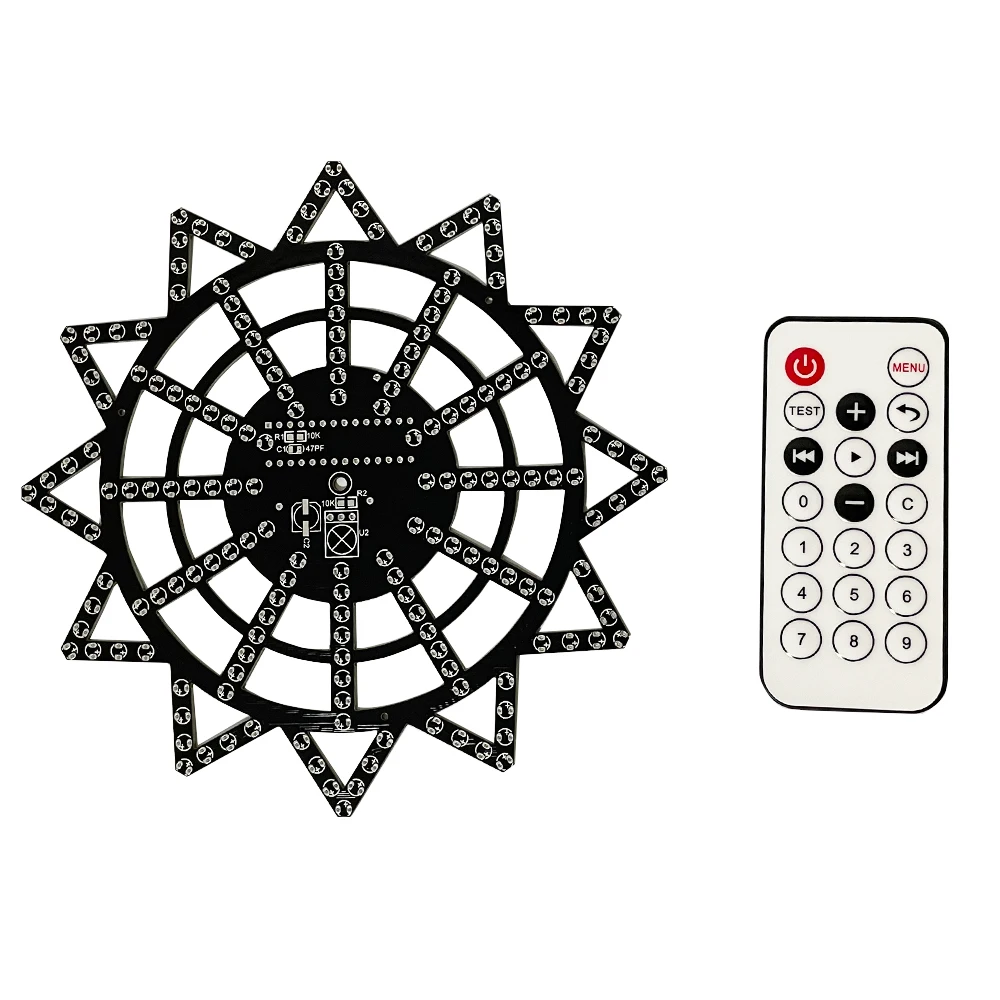
2. The diameter of the PCB just SAME as decribe 15cm. Please don't imagine it is very very big!!
PLS understand the product before payment ,thank you!
Suitable for electronic DIY hobby beginners to learn and practice welding.It is widely used in schools to help students learn basic mechanical and electronic skills.

Installation tutoria:
Tool
1.Electric soldering iron with about 35w power
2.Soldering tin
3.Tweezers
4.Electronic pliers
5.Screwdriver welding
Steps:
1. Solder chip resistors and capacitors (no direction)
2. Weld plug-in led (note the direction)
3. Weld infrared Receiver (note the direction)
4. Weld the MCU (note the direction)
5. Weld the thimble (note the direction) Weld the chip resistors and capacitors, these two components have no positive and negative poles, use tweezers to clamp the welding when welding, R1, R2 welding 10K resistor (the word 103 is written on the resistor), C1 is soldered with a 47pf capacitor. (No direction) C2 welding 220uf electrolytic capacitor (note the direction)
1.Welding the led, the led has a positive and negative pole, the long lead of the led is the positive pole, insert the pad with the + sign on the circuit board tightly, it is recommended to plug the led in and press it and then weld, so that the led is relatively neat, two when welding the led The pins are soldered separately, and soldering together will easily cause the led to burn out.
2.Solder the infrared receiver, bend the component pins 90 degrees and solder.
3.3.Solder the chip, insert the recess of the chip corresponding to the recess of the printing silk, do not short-circuit each pin of the chip during soldering, (determine the direction before soldering, the chip cannot be removed by wrong soldering, and the whole board is scrapped)
4.Soldering the thimble, the thimble must be completely pressed against the circuit board, and not crooked (note the direction, and the chip is in the same direction)
5.The power supply board is welded, and the pins of the usb socket must be separated and not short-circuited,red wire and black wire is connect to the motor, you can connect clockwise or counterclockwise according to your preference.test inadvance.
6.Assemble holder, first tear off the protective film on the shell,
Screw the power supply board, motor, and casing together with screws, with the casing in the middle, insert the screws from the power supply board, and then use oil and other lubricating oil to add smoothness to the three silver circles

Заказывала данные наушники для себя,очень довольна этим товаром. Пользуюсь уже больше месяца и нареканий к ним за это время... Читать отзыв полностью...

Очень красивое, элегантное украшение! можно подарить в качестве подарка,а так же как и помолвочное!себе заказывала в качестве подарка, очень понравилось!... Читать отзыв полностью...

В детстве я обожал смотреть мультик по этой вселенной. Каждая битва прям наполняла адреналином и постоянно хотелось почувствовать себя на... Читать отзыв полностью...

Заказывала часы сыну в подарок, очень понравилась эта модель. Продавец ответил на все дополнительные вопросы, сразу отправил товар после оплаты.... Читать отзыв полностью...

Шикарное платье, давно искала именно такое. Выполнено в винтажном стиле, и от него прямо веет духом тех лет. В нем... Читать отзыв полностью...

Здравствуйте. хотела оставить отзыв о преобретенном товаре. Очень классный стеллаж, заказывали данный товар у поставщика под наш лофт дизайн. Нашли... Читать отзыв полностью...


У меня дома два сладкоежки)) Решили заказать Аппарат для приготовления сладкой ваты, и делать самим дома. Товар пришел вовремя, хорошо... Читать отзыв полностью...